Step-by-Step Guide to Creating Stunning Quilled Cards
- SHRESHTHA MUNDHRA 2320365
- Nov 13, 2025
- 4 min read

Updated: Nov 17, 2025
Quilling, the art of rolling and shaping strips of paper to create intricate designs, has gained popularity as a delightful craft for card-making. Whether you are a seasoned crafter or a beginner, creating stunning quilled cards can be a rewarding experience. This guide will walk you through the essential steps to make beautiful quilled cards that will impress your friends and family.
What You Need to Get Started
Before diving into the quilling process, gather the following materials:
Quilling paper strips: These come in various colors and widths. A standard width is 1/8 inch.
Quilling tool: A slotted tool is ideal for rolling the paper strips.
Glue: Use a clear-drying craft glue for best results.
Scissors: For cutting paper strips to your desired length.
Tweezers: Helpful for placing small pieces accurately.
Cardstock: This will serve as the base for your card.
Pencil and ruler: For measuring and marking.
Understanding Basic Quilling Techniques
Before you start creating your card, familiarize yourself with some basic quilling techniques:
Rolling
Rolling is the foundation of quilling. To roll a strip of paper:
Insert one end of the strip into the slotted tool.
Turn the tool to roll the paper tightly.
Once rolled, slide it off the tool and let it loosen slightly to create a coil.
Shaping
After rolling, you can shape your coils into different forms:
Teardrop: Pinch one end of a loose coil to create a teardrop shape.
Marquise: Pinch both ends of a loose coil for a marquise shape.
Square: Fold the edges of a loose coil to form a square.
Gluing
Use a small amount of glue to secure your shapes. Apply it to the end of the paper strip and hold it in place for a few seconds until it dries.
Designing Your Quilled Card
Now that you have your materials and understand the basic techniques, it’s time to design your card. Here’s how to approach it:
Choose a Theme
Decide on a theme for your card. Popular themes include:
Birthdays
Weddings
Holidays
Thank You notes
Sketch Your Design
Before you start quilling, sketch your design on a piece of paper. This will help you visualize the layout and ensure you have enough space for each element.
Select Colors
Choose colors that complement your theme. For example, pastel colors work well for baby cards, while vibrant colors are great for birthdays.
Step-by-Step Card Creation
Follow these steps to create your stunning quilled card:
Step 1: Prepare the Card Base
Cut your cardstock to the desired size. A standard size is 5x7 inches when folded. Fold the cardstock in half to create the card.
Step 2: Create Your Quilled Shapes
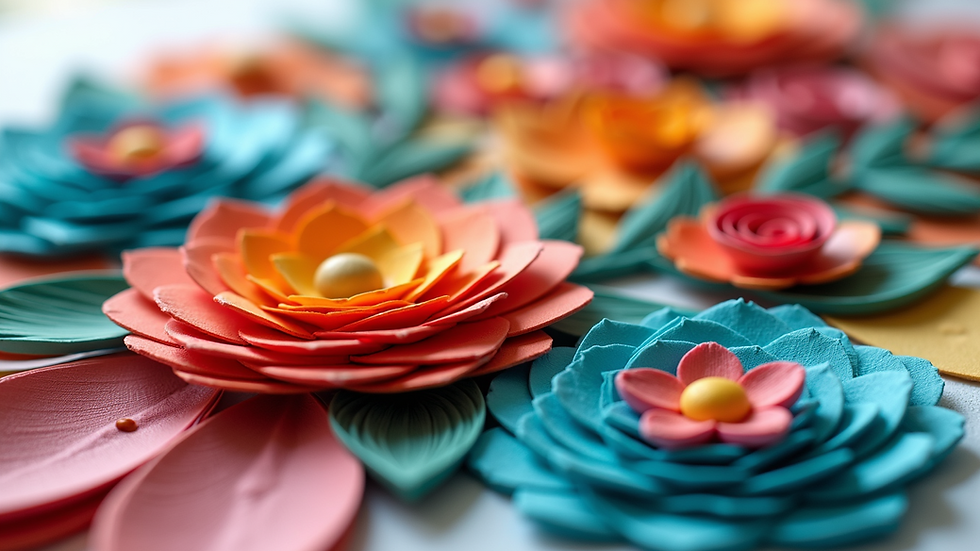
Using the techniques you learned earlier, start creating the shapes for your design. Here’s an example of a simple floral design:
Create several teardrop shapes for petals.
Make a small circle for the flower center.
Add leaves using marquise shapes.
Step 3: Arrange Your Shapes
Before gluing, arrange your quilled shapes on the card to see how they fit together. This is your chance to adjust the layout until you are satisfied.
Step 4: Glue the Shapes
Once you are happy with the arrangement, start gluing the shapes onto the card. Begin with the larger pieces and work your way to the smaller ones. Remember to hold each piece in place for a few seconds to ensure it adheres well.
Step 5: Add Final Touches
After all the quilled shapes are glued down, consider adding embellishments like:
Glitter
Stickers
Handwritten messages
These details can enhance the overall look of your card.

Tips for Successful Quilled Cards
Creating quilled cards can be a fun and fulfilling process. Here are some tips to help you succeed:
Practice: If you’re new to quilling, practice rolling and shaping strips before starting your card.
Use Quality Materials: Invest in good quality quilling paper and tools for the best results.
Be Patient: Take your time with each step. Rushing can lead to mistakes.
Experiment: Don’t be afraid to try new shapes and designs. Quilling is all about creativity.
Common Mistakes to Avoid
As with any craft, there are common pitfalls to watch out for:
Using Too Much Glue: A small amount is sufficient. Excess glue can make your card look messy.
Not Allowing Shapes to Dry: Ensure each piece is dry before moving on to the next step.
Ignoring Proportions: Keep your shapes proportional to maintain a balanced design.
Inspiration for Your Quilled Cards
If you’re looking for inspiration, consider these ideas:
Seasonal Cards: Create cards for different seasons, using colors and shapes that reflect each time of year.
Personalized Cards: Add names or initials to your cards for a personal touch.
Mixed Media: Combine quilling with other techniques like watercolor or stamping for unique designs.
Conclusion
Creating stunning quilled cards is a wonderful way to express your creativity and make heartfelt gifts for loved ones. By following this step-by-step guide, you can master the art of quilling and produce beautiful cards that showcase your skills. Remember to practice, experiment, and most importantly, have fun with your crafting journey. Now, gather your materials and start quilling!

Comments